This is the fastest technique you can use to get your drawing ready and color 'underneath' the black lines.
However, it's harder to do fancy things, such as coloring *over* the actual lines while still keeping the ability to color under them, and a few other tricks I like to use. But if I'm planning on doing an image with black lines, this is the technique I usually go with.
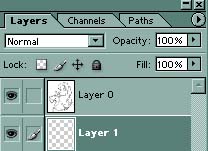 |
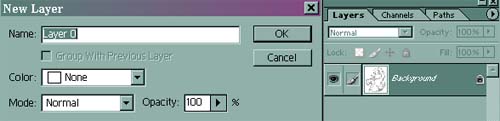
Now you have to make a new layer. Go Layer>Layer>New Layer or click the 'New Layer' button, which is a little square to the left of the trash can. Take this layer and drag it down underneath your image(Layer 0).
Remember that all successive layers should be added or dragged below your ink layer. |
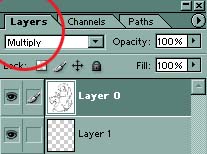 |
Look at the example of where you should go. See that little drop box? Change it to ‘Multiply’. |
 |
And that's it! Simple, quick and easy, just like I said. You can now color underneath your inking and not mess it up one bit. |