You may use whatever color you want for the background. I’m using black, just for contrast.
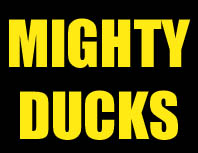
Now that you’ve learned the basics from my Text Effects Tutorial, we can go on and make our very own ‘Might Ducks’ logo!
When opening a new file for your text image, it would be a good idea if you make the overall size a little bigger than what you need.
|
Try and choose a text that is as similar to the actual logo as possible. The best text is usually very bold.
You may use whatever color you want for the background. I’m using black, just for contrast. |
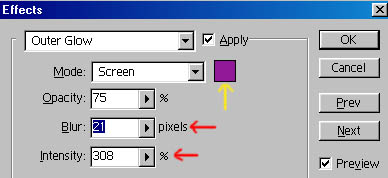 |
Go Layer>Effects>Outer Glow. Double-click where the Yellow arrow is and choose a purple shade similar to the one shown.
Set ‘Blur’ and ‘Intensity’, shown by the red arrows close to what I have shown in the example. The surrounding color should show up darkly, but shouldn't be one massive blur around your drawing. |
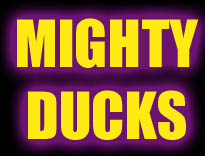 |
Your image should now look like this. Now there's only two more things left to do... |
Again, we practised these in the Text Effects Tutorial, so this should be fairly easy!
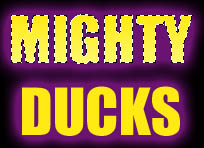 |
Using the ‘Magic Wand Tool’, select the words, one word at a time. Pick a dark yellow and a lighter yellow and use the ‘Gradient’ tool to fill in both words. |
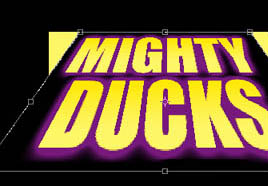 |
Go Image>Tansform>Perspective.Move the top inwards and the bottom outwards until you’re satisfied with the image.
The edges of your text will look rather jagged while you’re doing this, but once you’ve applied the effect, it’ll look nice and smooth again. |
 |
Now go Image> Adjust>Mode>Indexed Color., then Image>Export>GIF89aexport.
The image file is now in it's final form, and it’s a tidy 22kb. Not bad for a color image that size! |