Part One: Prepping the Image--Size Does Matter
A few things before we begin:
a. I don't recommend this technique for anyone who has a *lot* of thumbnails to create. Sure, it looks good, but it's a time-consuming process, best suited for a page that will have only a few thumbnails on it (say, less than ten). To give you an idea of what I mean by "time-consuming," it took two hours just to create the necessary images for this tutorial.
b. I can't vouch for whether or not this process will work for PP-9 / 10 / 11. I wrote it for PP-8 because that's what I have.
c. Graphics made with this tutorial are optimized for use on a white background, to make the most of the shading effects.
Getting Started
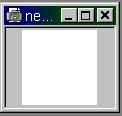
1. In PP-8, create a new image with the following settings:
Color mode: 24-Bit RGB Color
Paper color: White (or RGB 255, 255, 255)
Make sure the "No Background" box is unchecked.
Image Size: Width 75 px; height 75 px; resolution 72 dpi
That'll give you something like this:
Minimize this new image; you'll need it later.
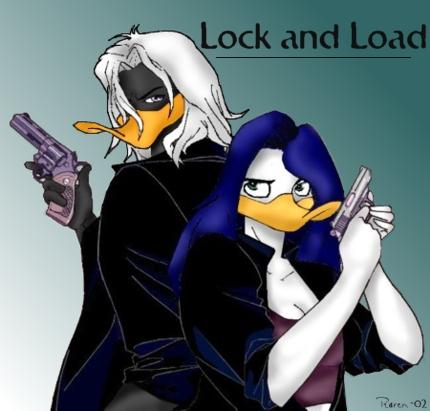
2. Open the image you intend to make a thumbnail from. For illustrative purposes, I used this pic by Raven:
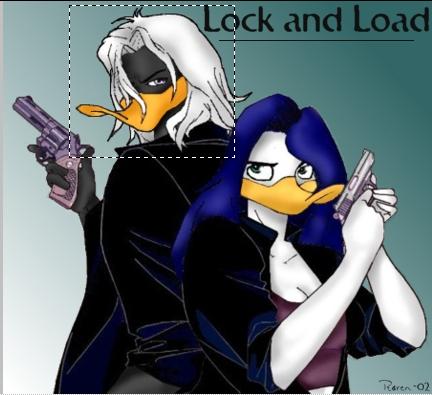
3. Obviously this image needs to be cropped to a more manageable size. Use the Rectangle Mask tool (second from the top on the Toolbar, the little square with a dashed outline) to select a portion of the image; then click Image>Crop>To Mask. In my case, that gave me this:
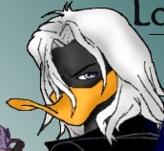
Which I cropped to this:
Now that we've got our image cropped, we're ready for the second part of the image-prep stage:
Using the Rectangle and Fill Tools.