Part Three: Applying the Drop Shadow
You've cropped your image, applied a 3D effect and transferred the whole thing into a new document. Now comes the cool part.
1. When you moved your selection into the new document, it should have retained a blinking dashed outline. (If it didn't, click Undo and get it back.) Once again, click Mask>Create from Object(s).
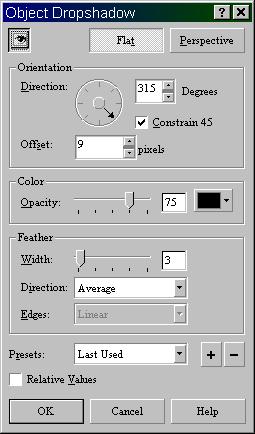
2. Click Object>Drop Shadow. You'll get a dialog box. Change the settings to match the ones below:
If you want a "softer" drop shadow, you can change the color to a shade of gray, or even to another color altogether; I just used black for maximum visibility.
When you've got it like you want it, click OK. You will now have an officially "finished" product, like this:

It's cool. It's wonderful. Show it to your friends. But you're not quite done yet.
Saving
By default, PP-8 saves files in .CPT format. We don't want that; it's not Internet-friendly. So we do this:
1. Click File>Export. You'll get a standard dialog box asking where you want to save the file, and what file type you want. Give your thumbnail a name, and choose "JPG" as your file type. Click "Save."
2. You'll probably get two pop-up warnings. The first will say "Objects will be merged with background." The second will say "Masks will not be saved in this format." Click OK on both of them. (If you just get one pop-up, it'll probably be the "objects" one; just click OK and proceed.)
3. You'll get one last dialog box...it'll be this one.
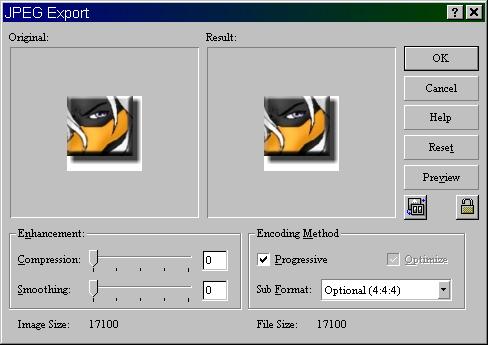
Don't bother the "Encoding Method" settings. Feel free to experiment with the "Compression" and "Smoothing" settings, but be advised that doing so may produce a "softer" image than you'd like. For best results, leave them both at zero.
Click OK, and you're done! Now go! Go and create thumbnails!